Printing Guide

Print Guide: Tips and Tips for Making Your File
Create your custom pattern on the support of your choice:
- Use our customization tools online.
- Use digital creation tools (photoshop, illustrator, canvas, photopea...).
- Draw, paint, color directly on paper
- Photograph portraits, landscapes
There are many design media available to help you create a custom fabric.
See this page dedicated to the creating a custom fabric to help you.
For the quality of your print file to be perfect, we print in 300 IPRS. Beyond that, the file will be heavier, but will not increase in quality.
A minimum of 150 DPI is recommended for quality and professional printing.
We can print 72 DPI (Standard WEB Quality) without problems, if you do not have a better quality. Nevertheless, the quality will be lower!
The size of the image will not be changed once it is in our possession. It will be printed in 1/1 scale only, so it is necessary to check your file before sending to make sure the size fits your needs.
We accept files in both CMYK and RGB color modes. However, we strongly recommend using the RGB mode, as it offers a wider and more vibrant color range, resulting in better on-screen visuals.
> Important: Regardless of the mode or color profile embedded in your file, the RGB profile of our printing system will automatically be applied during the printing process.
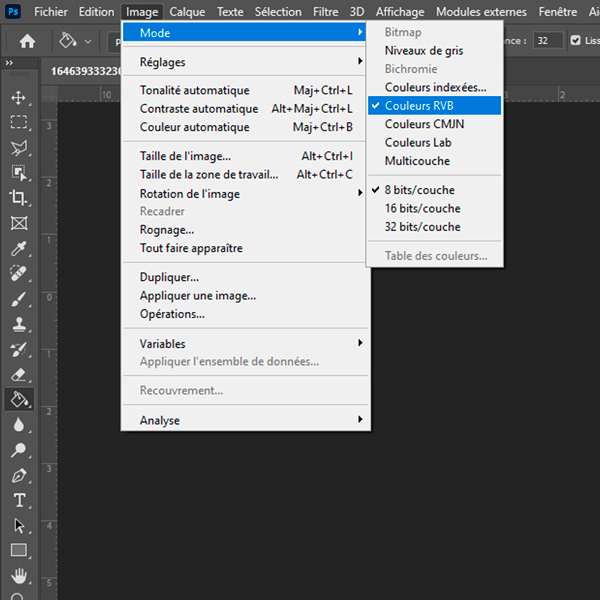
To minimize color discrepancies between what you see on screen and the final printed result, we recommend that you work directly with the following RGB color profile:
👉 sRGB IEC61966-2.1
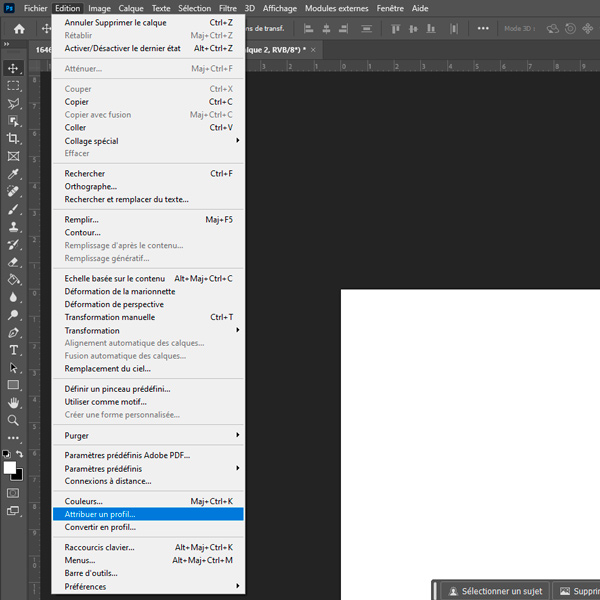
This profile is the closest match to the one used by our online printing tools, ensuring more accurate color reproduction between your digital file and the final textile print.
📌 Unlike other RGB profiles such as Adobe RGB 1998, which offer a broader color gamut but may result in noticeable shifts during printing, sRGB IEC61966-2.1 provides the most reliable color consistency with our production process.
Best Practices Summary:
- Recommended color mode: RGB
- ICC profile to use: sRGB IEC61966-2.1
- Avoid wide-gamut profiles like Adobe RGB 1998 if your goal is accurate color matching with the printed result.
To ensure a smooth and efficient experience when sending your files for custom printing on fabric, it is crucial to meet the following file size specifications:
- Less than or equal to 25 MB For files equal to or less than 25 MB, you will use our online customization tool. This tool allows you to preview your design in real time, ensuring a visualization of your design before printing.
- More than 25 MB and less than 100 MB If your file exceeds 25 MB but stays below 100 MB, you can access our simple file option. This method allows you to download your file directly without preview online. Just make sure your file meets our other format and quality requirements or order a BAT.
- Over 100 MB : Files exceeding 100 MB will be automatically rejected when sending. We therefore recommend that you reduce the size of your file before sending.
To know the size of your file, you can follow these simple steps according to your computer's operating system:
On Windows:
- Locate the file you want to know the size of.
- Right-click the file.
- In the context menu that appears, select "Properties".
- A window will open, displaying various information about the file, including its size in bytes (or in kilobytes, megabytes, etc., depending on the file size).
On Mac OS:
- Find the file you want to check the size.
- Click the right mouse button (or hold the Control key down while clicking) on the file.
- From the pop-up menu that appears, select "Read information".
- A window will open, displaying various information about the file, including its size in bytes (or in kilobytes, megabytes, etc., depending on the file size).
Once you have identified the size of your file, you can take the necessary steps to compress it or send it according to the specifications required for your custom printing on fabric.
Reducing your file size may seem complex, but a few simple steps can help you achieve this:
Check that your file is flattened : Files with layers can be larger. Make sure you flatten them before recording them.
Save your file to LZW (for TIFF files): Using this compression method can significantly reduce the size of your file without compromising image quality.
Use online tools to compress the image : Many sites offer free image compression tools. However, be sure to select a compression that maintains an image quality acceptable to your project.
By following these tips, you can effectively reduce the size of your file while preserving the quality of your design, thus facilitating the process of sending and printing on fabric.
We recommend 3 types of formats:
- JPEG/JPG (high resolution of 300 recommended IPR)
- TIFF/TIF (LZW compression required during recording)
- PNG (recommended for DTF printing)
If you need convert your file to TIFF format, you can do it easily with software like Photoshop. Simply open your file in Photoshop, then select "Save As" from the "File" menu and choose the TIFF format. Make sure to select the lZW compression when recording. You can also use online tools such as IlovePDF.com which offer simple and fast file conversions.
The maximum width is that of the print holder itself which is 1600 cm. However, our fabrics are not all the same. Refer to our guide to contents, to know all the widths.
The printer always adds by default a white border around a coupon, but it remains fine (less than 1cm). This is why we advise you to always add a margin additional to the dimensions of your fabric.
Mild discolouration may occur during washing or intensive use of a fabric. Moreover, if the printed fabric stays in the sun for a long time, it is possible that it will discolor. Ink we use is not anti-UV.
The risks are very high depending on the material, between 1 and 4% per metre.
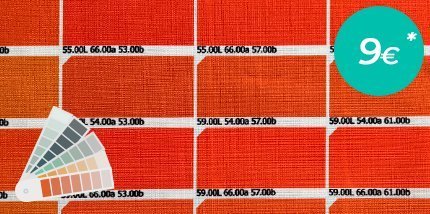
If the printing textile support is not the same, the ink will not settle on the fibre in the same way, although it is the same pattern. The same pattern cannot render the same color rendering according to the fabrics. This is why we offer to order a sample of your custom fabric before placing your order.
Yes, our printing process is environmentally friendly. This on-demand printing system allows us to avoid surplus stock. In addition, the ink used during printing is certified Oeko-tex (CQ 1296/1 IFTH).
More questions?
Contact our customer service:
Get our latest news and special sales


