


Contents
- Choosing the Right File Size
- Choosing the Right DPI (Dots Per Inch)
- Choosing the Colour Mode and Colour Profile
- Flattening Layers and Cleaning Your File
- Choosing the Right File Format
- Conclusion
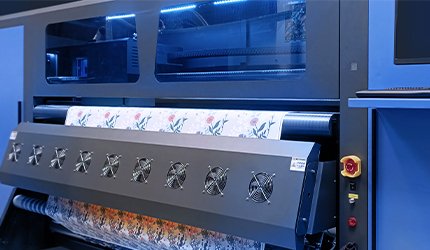
The quality of your fabric print depends directly on the preparation of your digital file. A well-optimised file ensures a faithful reproduction of your design on fabric, with vibrant colours, sharp patterns, and flawless finishing. At Tissus Print, we’re committed to delivering the highest quality prints. That’s why we’ve created this detailed guide to help you prepare your digital files in the best possible way.
1. Choosing the Right File Size
The first step towards high-quality fabric printing is to choose the correct file size. Your image size should match the final print dimensions, without any loss of quality.
Why is this important?
A small image scaled up for printing may become pixelated, which negatively impacts the sharpness and overall appearance of your design. Conversely, an excessively large image may slow down the printing process and create unnecessarily heavy files.
Our recommendations:
- Define your desired print size: For instance, if you're printing a pattern on 100x100 cm fabric, your image should match these dimensions or use a proportional scale.
- Include a safety margin: Add extra margin around your design to account for any possible shift during the cutting process.
2. Choosing the Right DPI (Dots Per Inch)
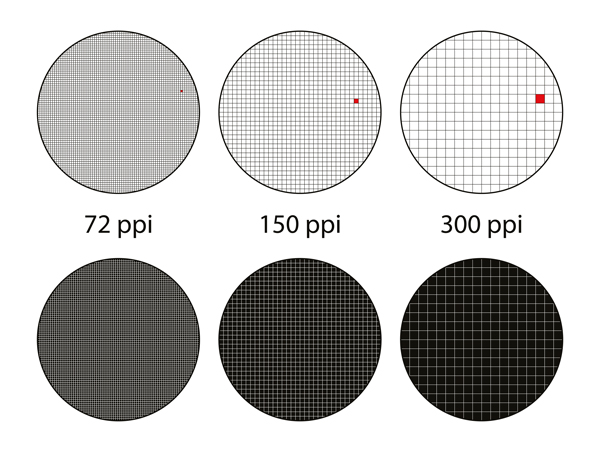
DPI (Dots Per Inch) is a crucial factor for fabric printing. It defines the ink dot density over a given surface and directly impacts the clarity and sharpness of the printed image.
Why is it crucial?
A low DPI can result in blurry or poor-quality prints. On the other hand, a very high DPI may not visibly improve quality while making the file heavier.
Our recommendations:
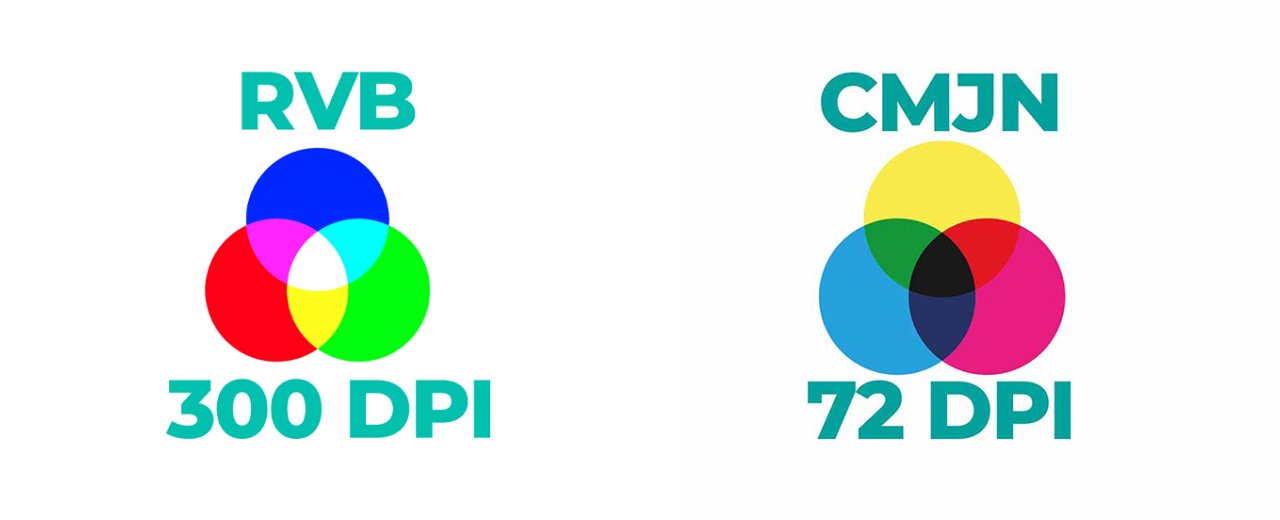
- Recommended DPI: For quality textile printing, we suggest using 300 DPI. This ensures detailed and sharp results.
- Visual comparison: Compare images with different resolutions to see the difference. A 300 DPI image will be significantly sharper than one at 72 DPI.
To learn more about image resolution and its impact on printing, check out our dedicated article: What image resolution is best for printing?
3. Choosing the Colour Mode and Colour Profile
Colour mode and colour profile play a key role in colour accuracy in fabric printing. Choosing the right ones ensures that your design’s colours are reproduced accurately on fabric.
CMYK vs RGB: Which Mode Should You Choose?
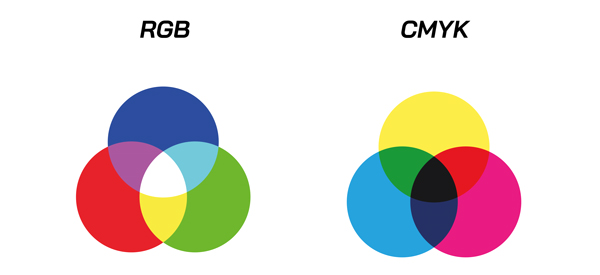
Traditionally, the CMYK (Cyan, Magenta, Yellow, Black) colour mode is used for printing, as it reflects the actual ink colours. However, at Tissus Print, we offer a slightly different approach to optimise the quality of your textile prints.
Why favour the RGB (Red, Green, Blue) mode?
RGB is typically used for screens and digital images. It offers a broader colour gamut than CMYK. Since screens display colours using light (red, green, and blue), they can show more vibrant and saturated colours.
Benefits of using RGB for textile printing:
- Wider Colour Gamut: RGB provides a broader range of shades, enabling brighter and deeper colours than CMYK.
- Better Colour Accuracy: Using RGB increases the likelihood that on-screen colours will match the printed result.
- Greater Precision: RGB allows for more vivid and accurate colours, especially beneficial for complex or multi-coloured designs.
Colour Profile: Ensuring Accurate Reproduction
Recommended Colour Profile:
To ensure your RGB colours are reproduced as accurately as possible, we recommend the Adobe RGB 1998 colour profile. It offers an extended gamut and is well suited for printing.
This approach ensures your fabric prints benefit from the best possible colour quality. If you have questions about colour conversion or need help, feel free to contact our team.
4. Flattening Layers and Cleaning Your File
To avoid printing errors and ensure smooth processing, it’s important to flatten your layers and clean up your file before sending it.
Why flatten layers?
Flattening reduces file complexity, lowers its size, and avoids misinterpretation by the printer. It also ensures all elements of your design are merged, reducing the risk of accidental changes or data loss.
File cleanup:
Before submitting your file, remove any unnecessary elements such as hidden layers or unused workspace. A clean, lightweight file is easier to process and reduces the chance of errors.
Our recommendations:
- Flatten your layers once your design is final (keep a layered version in case edits are needed).
- Clean your file by deleting anything not required for printing—extra margins, hidden layers, etc.
5. Choosing the Right File Format
The file format is the final, but crucial step for ensuring high-quality printing.
Why TIFF?
At Tissus Print, we highly recommend using the TIFF format for textile printing. TIFF files are uncompressed, preserving image quality—unlike formats like JPEG, which can degrade quality through compression.
Alternatives:
Other formats like PNG can be used when transparency is required (e.g., for DTF printing). However, TIFF remains the safest choice for optimal textile print quality.
Our recommendations:
- Use the TIFF format for your print files (enable transparency for DTF if needed).
- Check out our detailed guide What file format for high-quality printing? to learn more about each format and its specific use.
Conclusion
Optimising your file is a key step in achieving top-quality textile prints. By following these steps—choosing the right file size, setting the proper DPI, selecting the correct colour mode, flattening layers, and choosing the best file format—you set yourself up for a flawless result.
At Tissus Print, we know that every detail matters. That’s why we also offer a Proofing Service (BAT). This lets you receive a printed sample of your design before bulk production, so you can be sure it meets your expectations.
Feel free to reach out to our team with any questions or for personalised advice on preparing your files. We’re here to help you turn your creations into exceptional textile prints.


0 commentaires